
Configure AS-611Bn Vital-Sign Detection
This guide describes single-person vital-sign sensing in the supplied manual marked Ver.4.0 Jun.2026. Confirm function support and command termination for your installed firmware before using the examples. See Quick Start for connection prerequisites.
Measurement scope The supplied manual does not establish medical-device certification or diagnostic performance. This guide explains sensor output and does not validate a medical application.
Detection conditions
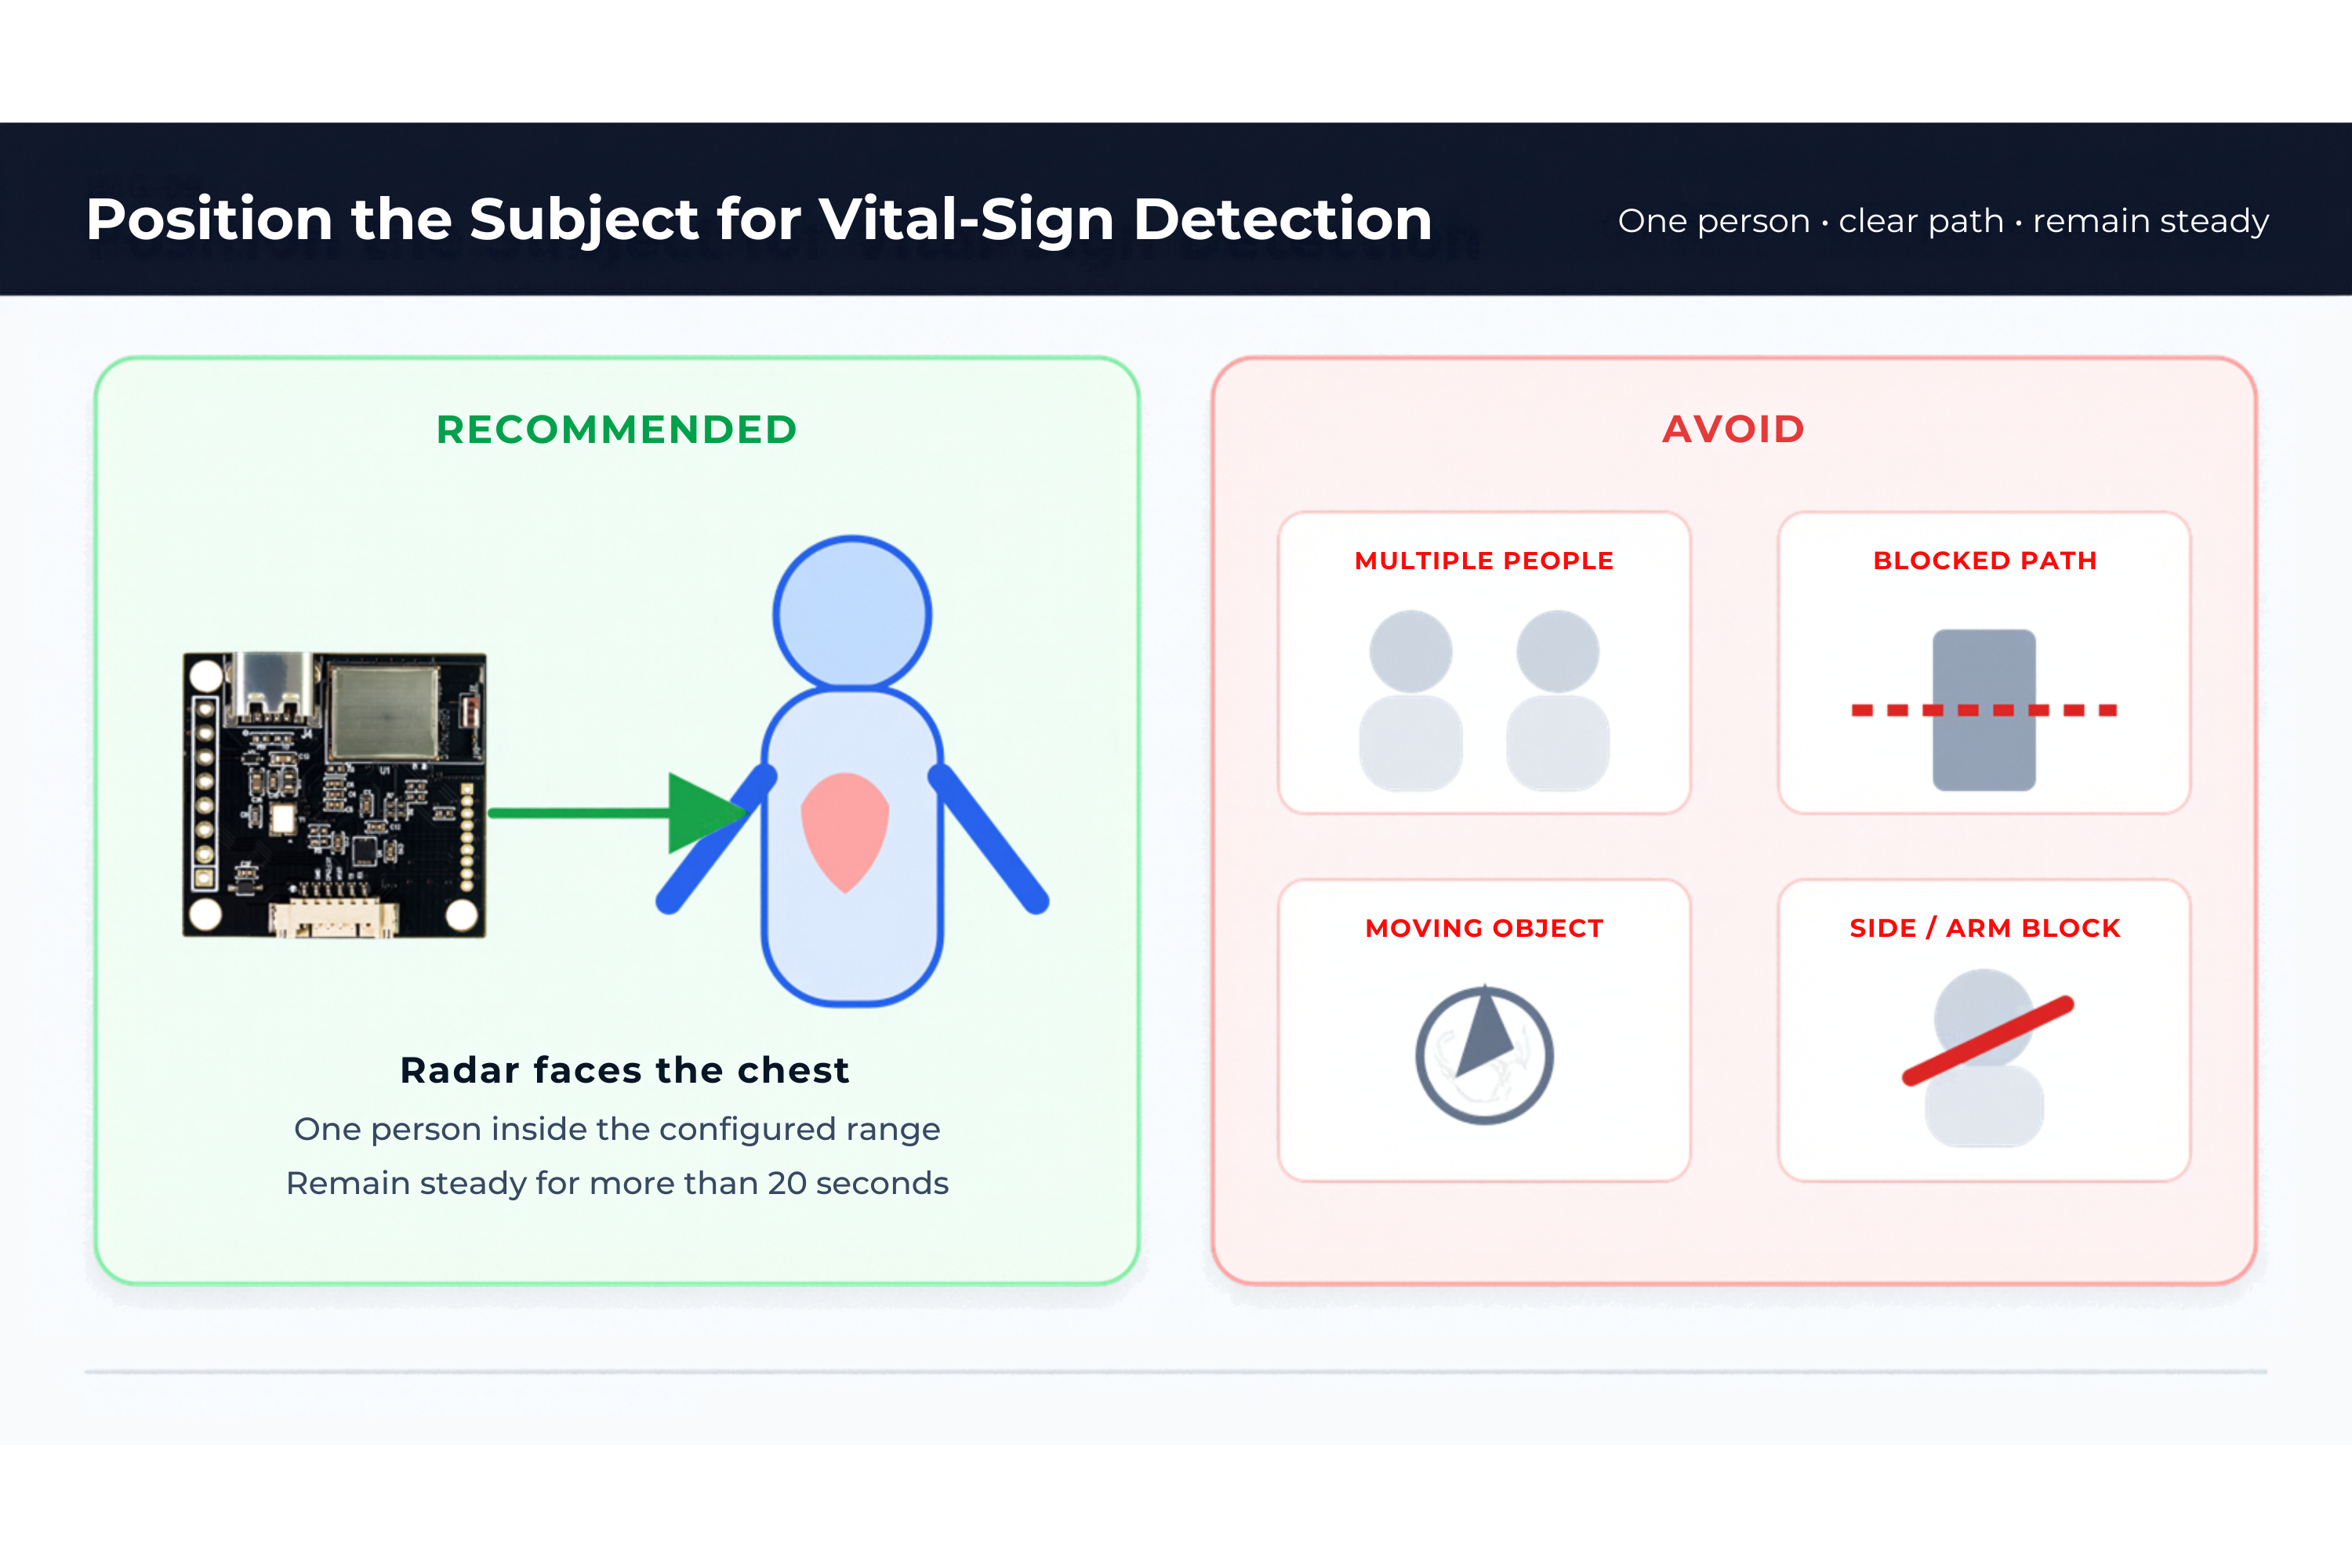
- One person only
- Configurable 0.15–2.5 m range; default 0.25–1.5 m
- Front-facing chest placement gives the best documented result
- The subject should remain steady for more than 20 seconds
- Small movements or conversation may be tolerated but reduce accuracy
- Other people, obstructions, nearby metal, moving objects, and highly reflective surfaces can reduce or prevent detection
Step 1: Position the sensor and subject
Point the radar toward the subject's chest. Keep the subject inside the configured range and remove obstacles and moving/reflective objects around the sensing path.
Step 2: Select vital-sign mode and range
stop
mode 2
After confirming the selected mode, establish the default range through an intermediate minimum:
zmin 15
zmax 150
zmin 25
This sequence is derived from the manual's range constraints, not a hardware test. The temporary minimum of 15 cm is compatible with every documented vital-mode maximum (40–250 cm). Send each command separately and allow reconfiguration to finish. If any command fails, establish the actual state before proceeding.
The documented mode response is:
=VITAL!
| Setting | Documented range | Default |
|---|---|---|
zmin | 15 to zmax - 25 cm | 25 cm |
zmax | 40 to 250 cm | 150 cm |
If reflective clutter is present, reduce zmax to include only the subject.
Step 3: Select the output type
Simple output
wave 0
exten 0
start
The simple frame is sent once per second:
%ABBBCCDDD!
| Field | Meaning |
|---|---|
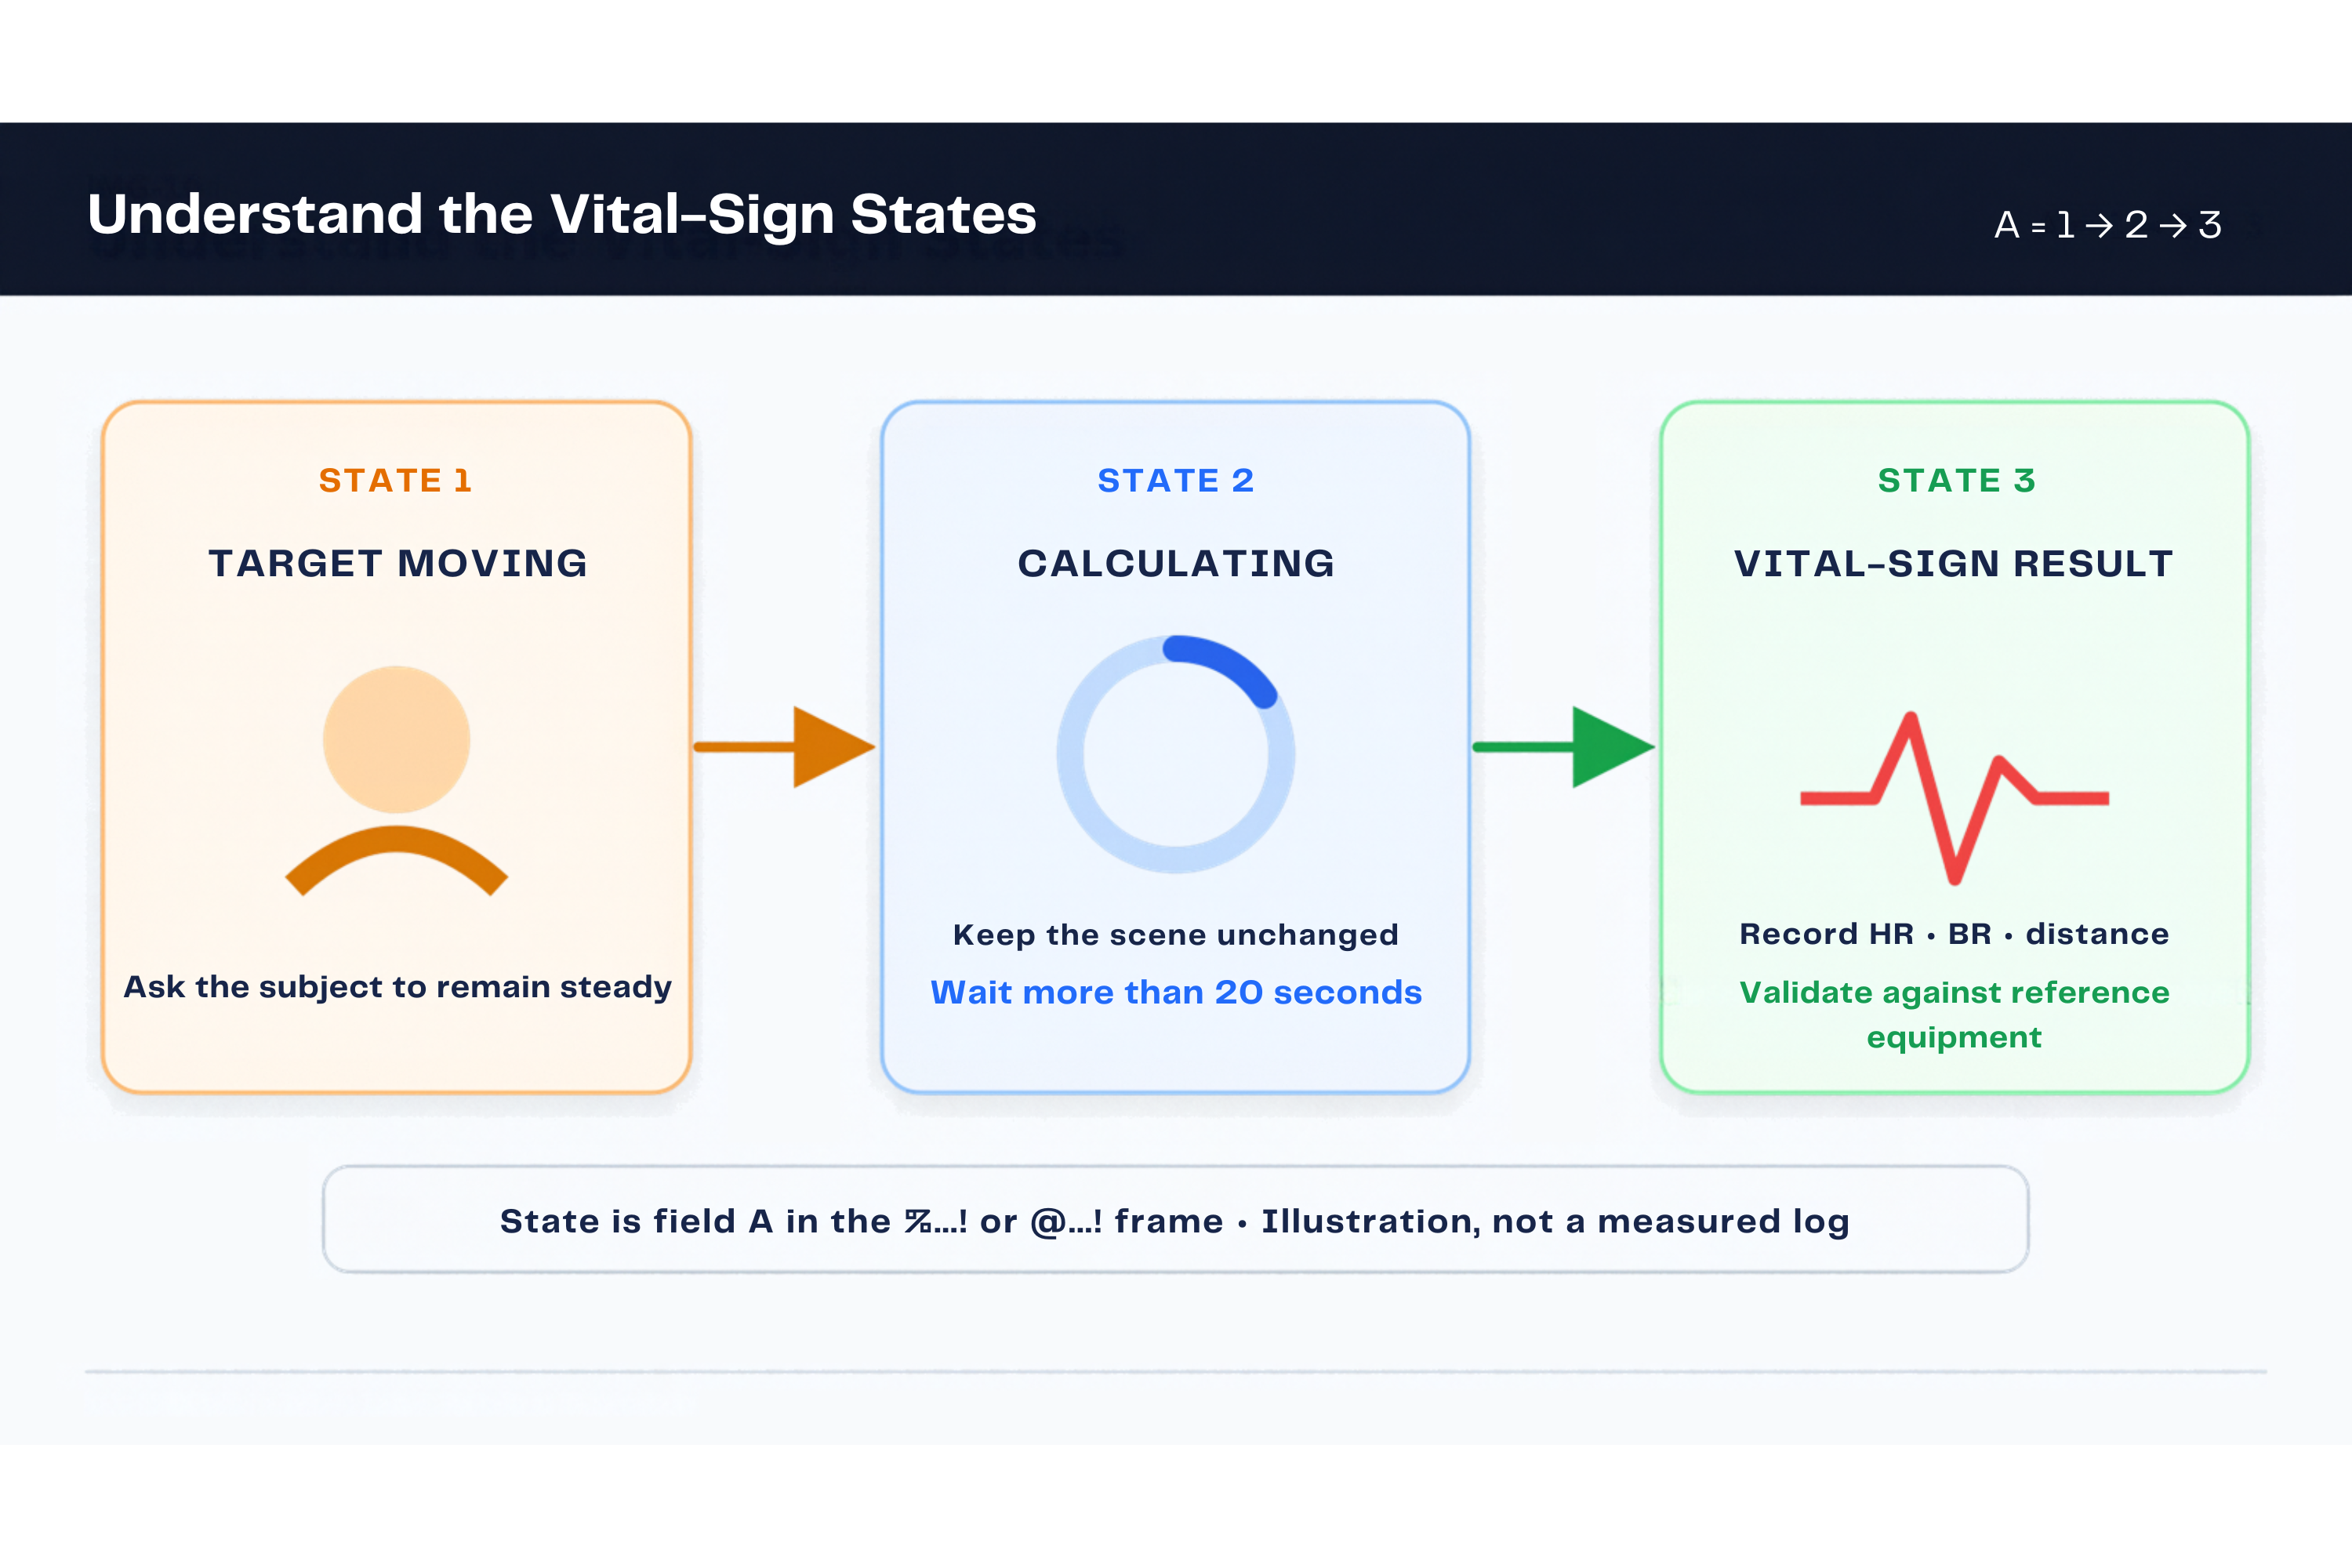
A | State: 0 no target, 1 moving, 2 calculating, 3 vital-sign result |
BBB | Heart rate per minute |
CC | Breathing rate per minute |
DDD | Distance in centimeters |
Waveform output
wave 1
exten 0
start
The waveform frame is documented at 10 Hz:
@ABBBCCDEEEFFF!
It adds a one-digit heart-beat pulse (1 at a beat, otherwise 0) and a three-digit respiration waveform value (0–999). This pulse is not a continuous cardiac waveform or ECG. The 10 Hz figure describes output cadence, not a validated update rate for independently calculated HR/BR/HRV results.
Add HRV fields
exten 1
Extended simple format:
%ABBBCCDDEEFFF!
Extended waveform format:
@ABBBCCDDEEFGGGHHH!
DD is documented as RMSSD in milliseconds and EE as SDNN in milliseconds. The manual does not define the calculation window, invalid values, or encoding above 99 ms. Consult the frame-length and field-limit notes before implementing a parser.
Step 4: Wait for a stable result
After start, interpret the reported state. The manual defines these values but does not specify a mandatory transition sequence:
| State | Meaning | Action |
|---|---|---|
| 0 | No target | Check range, angle, and obstructions |
| 1 | Target moving | Ask the subject to remain steady |
| 2 | Calculating | Continue waiting without changing the scene |
| 3 | Vital-sign result | Record values and raw frames |
The manual recommends remaining stable for more than 20 seconds for reliable heart-rate results. This is a subject-condition requirement, not a guaranteed result deadline or HRV calculation window.
When no target is detected, %0! or @0! is documented every 15 seconds.
Pass criteria
- Exactly one subject is inside the approved sensing zone.
- The stream reaches state
3; do not assume it must occur at a fixed time. - Distance is consistent with the test setup.
- HR/BR and optional HRV fields stay within the confirmed encoding limits.
- Raw logs and the reference instrument are recorded for any accuracy claim.